No Products in the Cart
PCR reaction tubes are small, specialised containers built specifically to hold samples during the Polymerase Chain Reaction. Their whole purpose is to create a sterile, controlled bubble for DNA amplification, making sure heat transfers efficiently and contamination stays out. Honestly, picking the right tube is one of the most basic but critical steps to getting results you can trust.
Think of a PCR tube as a tiny, high-tech bioreactor. Its entire design is fine-tuned for one of the most powerful reactions in molecular biology. Inside this small vessel, a precise biochemical chain reaction unfolds, creating millions upon millions of copies of a specific piece of DNA. The tube's job is simple but vital: protect that reaction from the outside world while meshing perfectly with your lab equipment.
Just as a chef needs the right pan to get the perfect sear, a scientist needs the right pcr reaction tubes to handle the rapid-fire temperature changes of a thermal cycler. Their design has to nail three key functions:
At the end of the day, your choice of tube isn't some minor detail you can overlook. It's a foundational decision that directly impacts the quality of your results. A cheap or incompatible tube can easily lead to failed reactions, inconsistent data, and a lot of wasted time and money. This becomes even more critical in high-stakes fields like diagnostics or forensics, where you simply can't afford to be wrong.
The growing importance of these little consumables is clear in market trends, too. Germany's advanced biotech sector, for example, is a huge driver of demand in Europe, with its market for PCR consumables expected to grow significantly by 2027. You can dig into more insights on the expanding European PCR market over at precedenceresearch.com.
The success of a PCR experiment often comes down to the quality of the consumables. A PCR tube isn't just passively holding your sample; it's an active part of the thermal process, making sure the reaction environment is stable and pure from start to finish.
Getting these fundamentals right is also key for other lab work. For instance, the same principles of maintaining sample integrity are just as vital when you're looking at long-term solutions for the storage of cells in a biobank.
Choosing the right PCR reaction tubes is a bit like picking the right tool for a job. Sure, you might get by with a single screwdriver, but having a full set designed for specific tasks makes the work faster, more efficient, and a whole lot more precise. The same logic applies to PCR consumables; the format you choose can have a huge impact on your workflow, whether you're doing a small-scale analysis or a high-throughput screen.
The first, most basic decision you'll make is about volume. The two sizes you'll see most often are 0.2 mL and 0.5 mL tubes. It’s not just about how much liquid they can hold—it’s about matching the container to the reaction itself.
0.2 mL Tubes: These are the real workhorses for most standard PCR and qPCR experiments. Their smaller size and thin-walled design are perfectly optimised for quick, even heat transfer in modern thermal cyclers, which nearly always have blocks designed for this format. They're the ideal choice for reaction volumes between 10 µL and 25 µL.
0.5 mL Tubes: While you don't see them as often for routine PCR these days, these larger tubes still have their place. They're useful for bigger reaction volumes (up to 100 µL) or for preparing master mixes before you aliquot them into smaller tubes or plates. They were common with older thermal cyclers but have mostly been superseded by the more efficient 0.2 mL format.
For most labs, the 0.2 mL tube is the go-to, offering the best balance of thermal performance and sample capacity for everyday work. We're even seeing a trend towards smaller volumes. The European market for PCR consumables is growing fast, with Germany leading the way. The 0.1 mL PCR tubes segment, often used for low-volume and multiplex PCR assays, is projected to see the highest growth at around 8.2% CAGR. This highlights a clear shift towards greater precision and efficiency in the lab, driven by the need for rapid diagnostics and advances in PCR automation. You can dig into more data on the PCR consumables market if you're interested.
Beyond volume, how your tubes are arranged physically will dictate the scale of your experiment.
Individual Tubes: These are perfect for small-scale experiments, troubleshooting runs, or when you only need to process a handful of samples. They give you maximum flexibility, but they quickly become awkward and prone to mix-ups as your sample numbers grow.
Tube Strips: Typically found in strips of 8 or 12, these are a fantastic middle ground. They really streamline handling multiple samples, cutting down on pipetting time and minimising the chance of losing or misplacing a single tube. They're ideal for batch processing and fit perfectly into standard 96-well thermal cycler blocks.
This diagram really gets to the heart of a PCR tube's role: to protect both the experimental environment and the integrity of the sample itself.
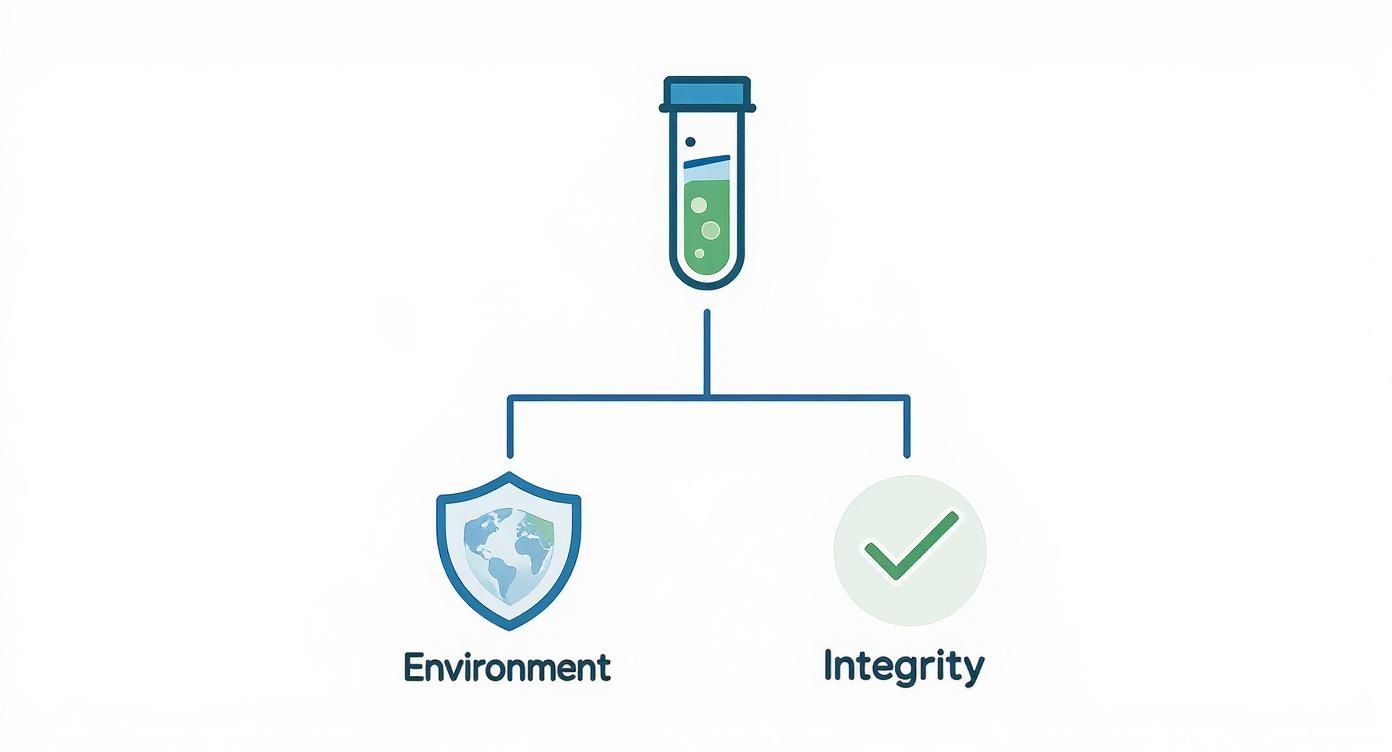
It’s a great reminder that the tube is more than just a plastic container; it's an active component responsible for maintaining a controlled, sterile world for the reaction to happen in, ensuring your final data is reliable.
When your sample count climbs into the dozens or hundreds, it's time to graduate to multi-well plates. These formats are absolutely essential for automation and high-throughput workflows.
A PCR plate isn't just 96 tubes stuck together. Its design, especially the skirt, provides the mechanical stability required for robotic handling, precise sealing, and accurate barcode labelling—all of which are non-negotiable in automated systems.
The "skirt" simply refers to the rim around the base of the plate.
The success of your entire PCR experiment can hinge on the physical properties of a tiny piece of plastic. The material and seal of your PCR reaction tubes aren’t minor details; they are active components that directly influence heat transfer, sample integrity, and the accuracy of your results. Getting this right means creating the perfect environment for DNA amplification to happen without a hitch.
This decision is more than just a matter of lab preference—it's a fundamental step in experimental design. A poorly chosen tube can lead to evaporation, inefficient heating, or even sample loss, compromising your data before the first thermal cycle even begins.
When you look at a PCR tube, you're almost always looking at polypropylene. This specific polymer has become the industry standard for very good reasons, making it the bedrock of reliable DNA amplification.
Thermal Stability: Polypropylene is incredibly resilient to the rapid, extreme temperature swings of a thermal cycler. It won't warp, crack, or degrade when heated to 95°C for denaturation and then rapidly cooled, ensuring the tube maintains its structural integrity from start to finish.
Low-Binding Properties: It's a non-reactive material, meaning it’s chemically inert. Crucially, its low-binding surfaces prevent precious DNA, enzymes, and primers from sticking to the tube walls. This ensures your entire sample is available for the reaction, which is especially critical when you're working with low-concentration starting material.
Using virgin polypropylene is key. This means the plastic has no recycled materials, additives, or processing agents that could leach into your sample and inhibit the PCR reaction. Always look for tubes certified as being made from 100% virgin polypropylene.
The reliance on high-quality consumables is growing across Europe. The market for PCR tubes in Germany and neighbouring regions is projected to hit approximately USD 352 million by 2032. This growth is fuelled by the critical need for reliable diagnostics in fields like cancer genomics and infectious disease testing, where the quality of a simple tube makes all the difference. You can explore more insights on the PCR consumables market on gminsights.com.
Beyond the base material, two design features are non-negotiable for high performance: wall thickness and optical properties.
A PCR tube’s walls must be uniformly thin. Think of it like cooking: a thin-walled pan heats up much faster and more evenly than a thick, heavy one. This exact principle allows for rapid and consistent heat transfer from the thermal cycler block to your reaction mix, ensuring all molecules experience the same temperature at the same time.
For quantitative PCR (qPCR), optical clarity is paramount. The reaction is monitored in real-time by measuring fluorescence, so the plastic must be highly transparent to let the instrument's detector capture the signal accurately without interference. White or frosted tubes are also often used in qPCR to reflect fluorescence back towards the detector, which can boost the signal and increase sensitivity.
A PCR tube's material isn't just a passive container. Its thin-walled construction actively facilitates the rapid thermal exchange essential for PCR, while its optical clarity is the window through which qPCR results are measured.
An airtight seal is your best defence against evaporation, a notorious saboteur of PCR experiments. Even a tiny loss of water can drastically change the concentration of primers, magnesium, and other reagents, leading to failed or inconsistent amplification.
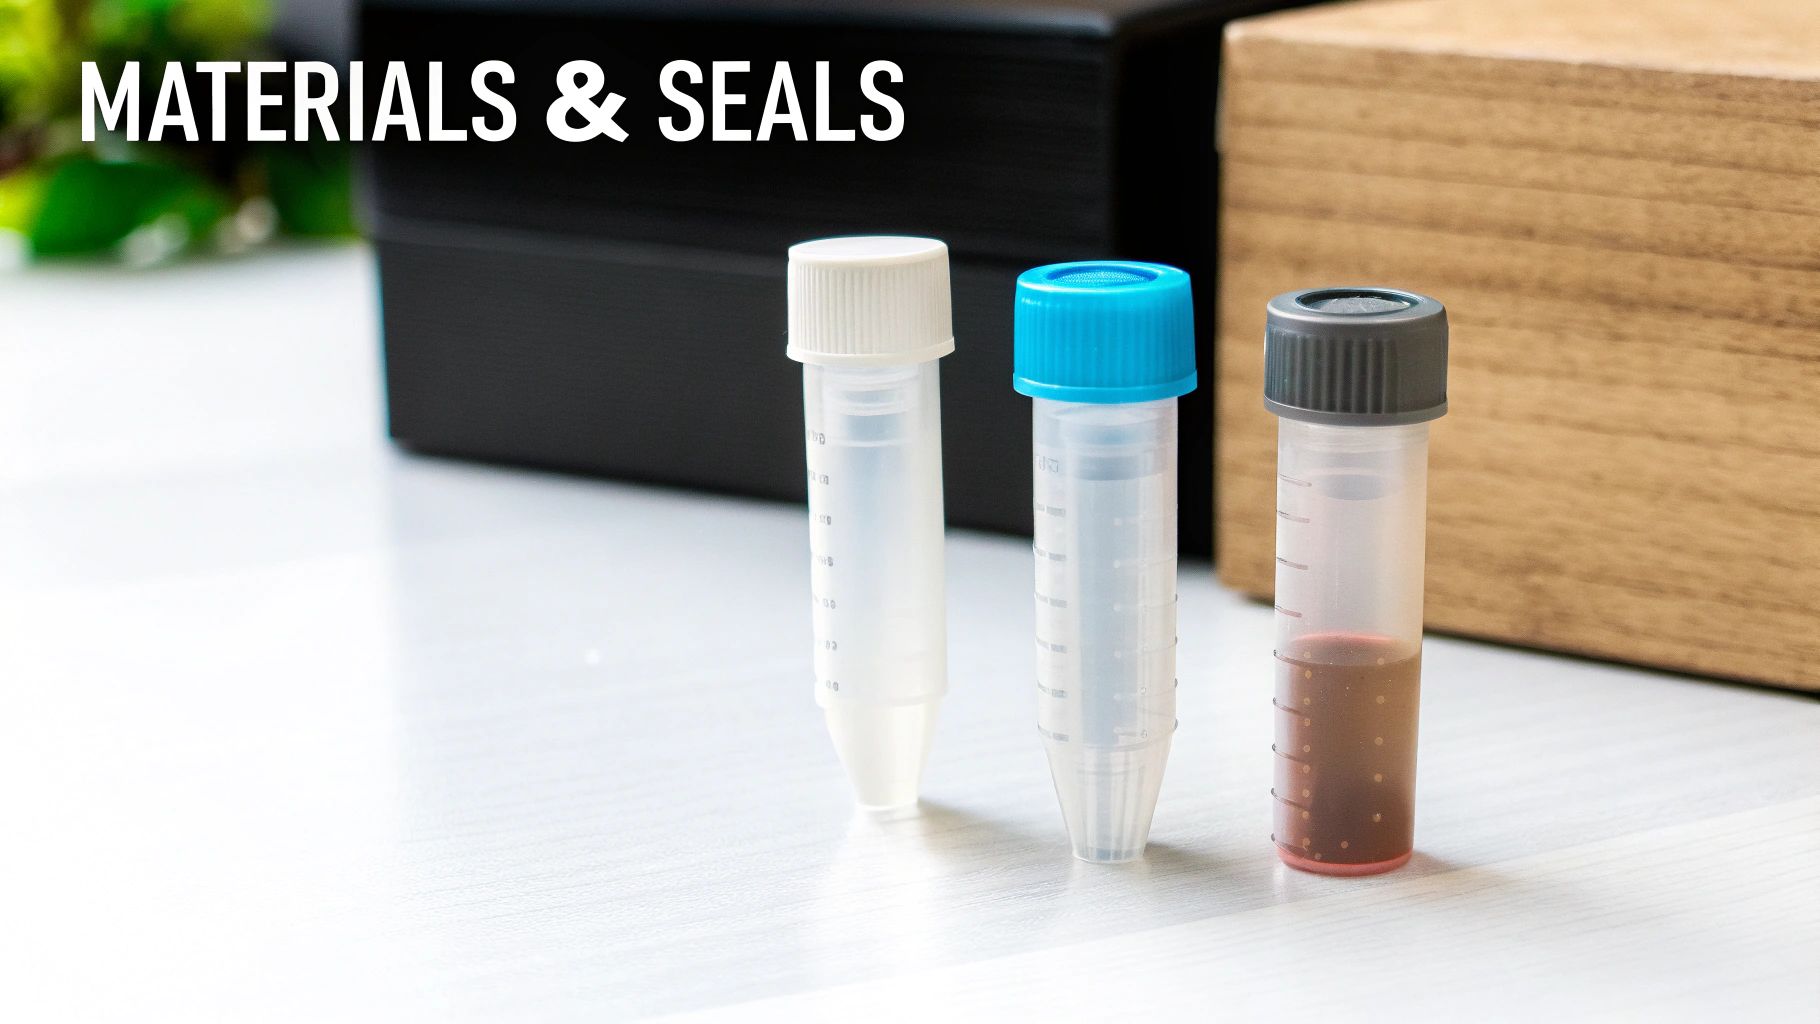
The choice of cap or seal is just as important as the tube itself.
Individual tubes and tube strips typically come with either domed or flat caps.
Domed Caps: The convex shape ensures a snug fit against the heated lid of the thermal cycler. This creates uniform pressure and prevents condensation from forming, which is crucial for even heat distribution across your samples.
Flat Caps: These are ideal for qPCR, as their flat, optically clear surface won't interfere with the detector's light path. They're also much easier to label with a marker, helping you keep experiments organised.
For higher throughput work with strips and plates, you have a few options. Deciding on the best sealing method really comes down to your workflow, whether you're using automation, and your budget.
Here’s a quick rundown of the most common options, their pros, and their cons.
| Sealing Method | Best For | Pros | Cons |
|---|---|---|---|
| Individual/Strip Caps | Low to medium throughput; manual processing; experiments requiring individual tube access. | Secure, reliable seal for each well. Easy to open/close individual tubes. | Can be tedious to apply and remove for full plates. Potential for cross-contamination if not careful. |
| Adhesive Films | High throughput (96/384-well plates); qPCR (optical films); automation-friendly workflows. | Fast application for entire plates. Good protection against evaporation. Optically clear options available. | Can be difficult to remove without leaving residue. Piercing films can be tricky and may aerosolise samples. |
| Heat Seals | High throughput; long-term storage or archiving in biobanks; automated workflows. | Provides the most secure, tamper-evident seal. Excellent for preventing evaporation over long periods. | Requires a dedicated heat-sealing instrument. Seals are permanent and require piercing or peeling to access samples. |
Ultimately, the goal is an airtight seal that protects your sample from evaporation without interfering with the thermal cycling or, in the case of qPCR, the optical reading. For manual, day-to-day PCR, strip caps are often the go-to. For automated, high-volume qPCR, adhesive films or heat seals are usually the more practical choice.
In the world of PCR, even a single stray molecule can bring your entire experiment crashing down. The technique is brilliant at amplifying tiny amounts of genetic material, which is great—until it starts amplifying a contaminant instead of your target sequence. This is why preventing contamination isn't just a "best practice"; it's the absolute foundation for getting results you can trust.
Your first line of defence is the quality of your PCR reaction tubes. When a tube is certified "nuclease-free," it's a guarantee that it's been tested and is free of DNases and RNases. Think of these enzymes as tiny molecular scissors that will happily chop your precious DNA and RNA to bits, destroying your sample before the reaction even has a chance to start.
Likewise, a "pyrogen-free" certification means the tubes don't contain bacterial endotoxins. These nasty little substances can inhibit the Taq polymerase enzyme, effectively slamming the brakes on your PCR. Choosing tubes with these certifications gives you a clean slate to build your experiment on.
Great tubes are a great start, but sterility is a continuous effort that involves every single step of your workflow. The moment you open that bag of tubes, you're in charge of keeping them pristine. This is where meticulous lab technique becomes non-negotiable.
Working in a controlled environment is essential. All your PCR setup should happen in a dedicated workstation or a laminar flow hood that's been thoroughly decontaminated with a DNA-destroying solution and blasted with UV light. This creates a clean zone, dramatically reducing the odds of airborne contaminants gate-crashing your experiment.
And don't forget your personal protective equipment—it's just as crucial.
The greatest risk of contamination in PCR isn't from the reagents or the equipment, but from the researcher. Proper technique, including dedicated workspaces and meticulous handling, is what separates clean, reliable data from a series of failed experiments.
This level of detail is vital. To keep your workflow sterile from beginning to end, it helps to understand the role of high-quality, properly fitted lab gloves that give you both protection and the dexterity you need.
A solid decontamination strategy is what keeps your entire PCR workspace secure. This isn't a one-time thing; it's a routine that everyone in the lab needs to follow religiously. It means cleaning every surface and piece of equipment that comes anywhere near your samples or reagents.
Your routine should become second nature and include these key steps:
By building these practices into your daily work, you create a system that actively fights contamination. This discipline is what gives you confidence that the band on your gel or the curve in your qPCR plot is your target—and not just a ghost in the machine.
A successful PCR experiment is a bit like a well-rehearsed orchestra—every single component needs to work in perfect harmony. Your PCR reaction tubes aren’t just tiny plastic containers; they are a critical link between your precious sample and your lab hardware. Making sure you have the right match is absolutely fundamental to getting reliable, reproducible results.
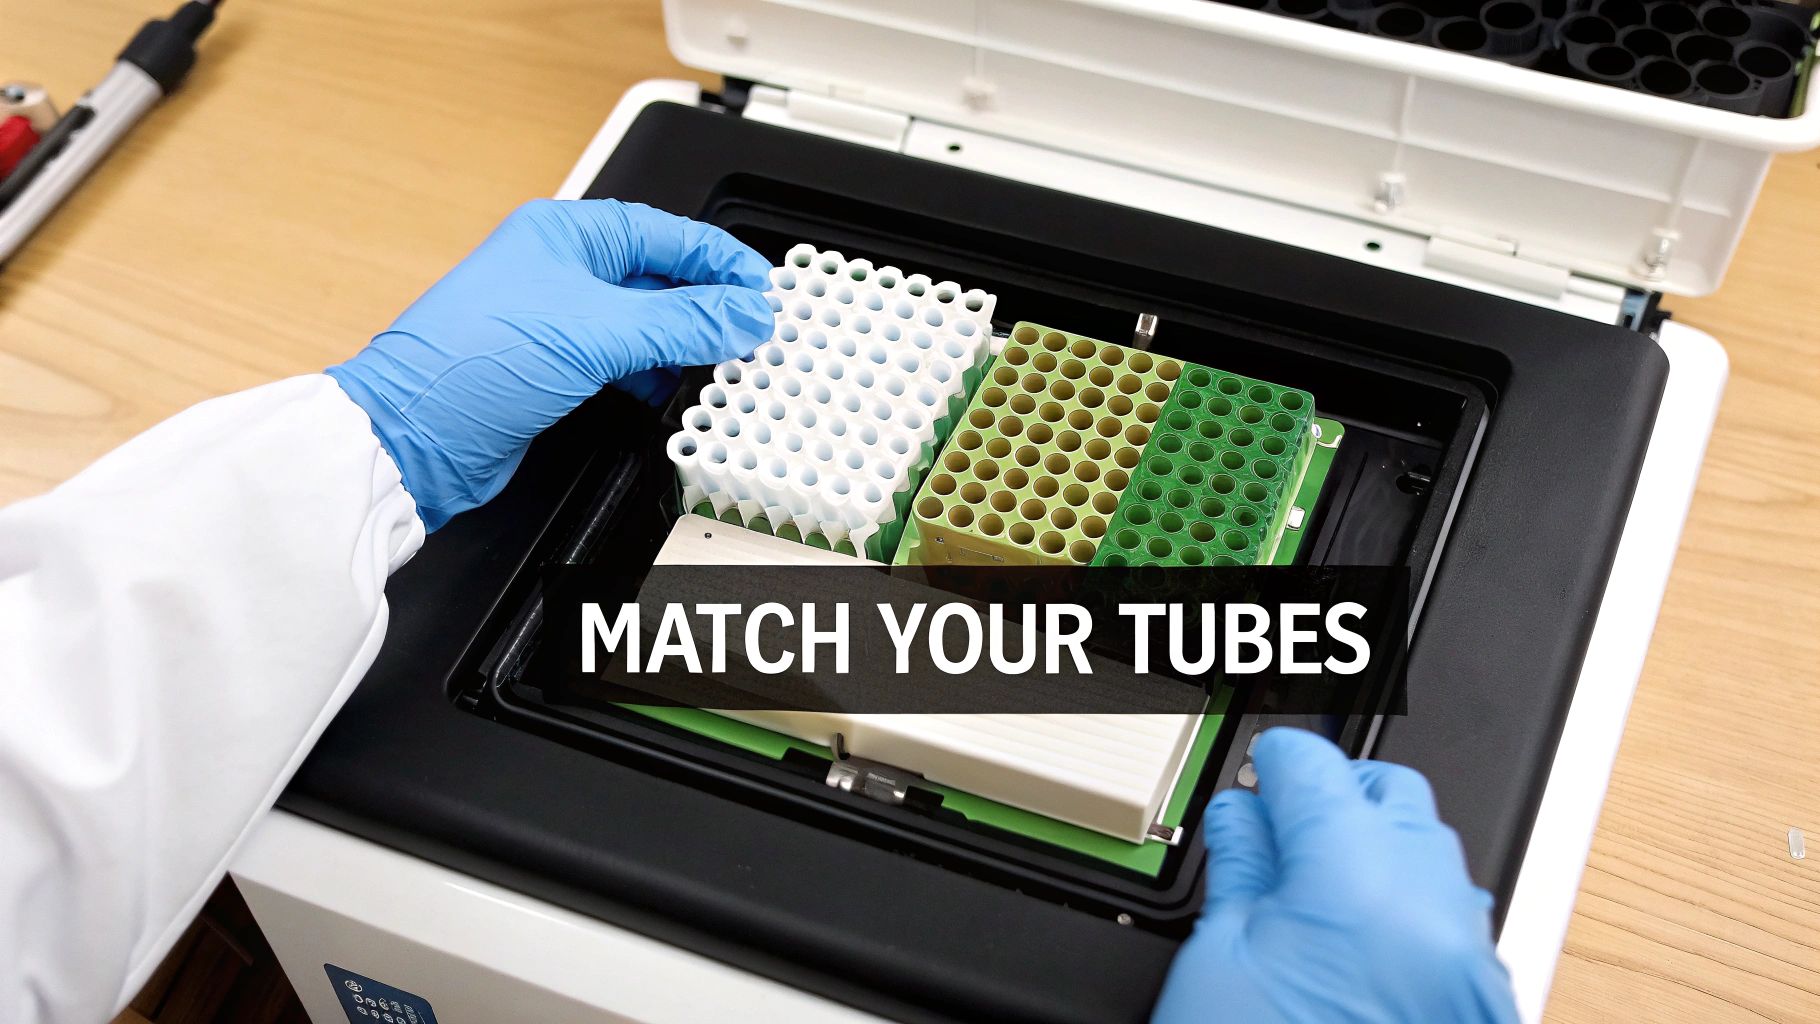
Think about the relationship between a tube and a thermal cycler block as a lock and key. If there's even a slight mismatch, the key simply won't turn. In the world of PCR, that mismatch means poor thermal contact, which leads to inefficient heat transfer, uneven amplification, and, all too often, failed reactions.
The first and most important compatibility check is with your thermal cycler. Different models have blocks designed for very specific tube formats, and trying to force the wrong tube into a block is a recipe for disaster. An ill-fitting tube won't sit flush against the walls of the well, creating tiny air gaps that act as insulators.
This poor contact completely undermines the rapid, uniform temperature changes that PCR depends on. As a result, your samples might never reach the target denaturation or annealing temperatures, leading to little or no DNA amplification. Your best bet is to always consult your thermal cycler’s manual to confirm the recommended tube or plate format before ordering.
For labs managing a wide variety of sample types and storage needs, equipment compatibility is a constant theme. The same careful approach is needed when choosing long-term storage solutions. You can find out more about how this applies to an ultra-low temperature freezer in our related guide.
Before you even get to the thermal cycler, you'll often need to give your tubes a quick spin in a centrifuge to collect the entire reaction mixture at the bottom. The catch is, not all PCR tubes are built to withstand the same forces. It's crucial to know the maximum Relative Centrifugal Force (RCF) your tubes can handle.
Pushing past this limit can cause tubes to crack or even shatter, which means lost samples and a contaminated centrifuge. Most reputable manufacturers will specify the maximum RCF in their product documentation. A good quality tube can typically withstand forces up to 5,000 x g, but it's always smart to verify this before you start spinning.
When you're running quantitative PCR (qPCR), where fluorescence is measured in real-time, the optical properties of the tube become paramount. The tube's material needs to let light pass through cleanly, but it can also be engineered to actually enhance signal detection. This is where the choice between clear and coloured tubes really matters.
In qPCR, the tube is an active part of the optical system. Choosing a white tube over a clear one can amplify your fluorescent signal, acting like a tiny mirror that boosts the light reaching the detector and sharpening the accuracy of your results.
Of course, none of this matters without a perfect seal. A loose cap or a poorly applied adhesive film can lead to evaporation during the high-temperature denaturation steps. This loss of volume concentrates all the reagents, changing the reaction kinetics and potentially inhibiting the polymerase enzyme—sabotaging the accuracy of your experiment. A high-quality tube paired with a robust sealing method is your best insurance against this common pitfall.
Choosing the right PCR tube can feel overwhelming with so many options available. This checklist is designed to walk you through the key decision points, helping you match product specifications directly to your lab's needs and applications.
| Consideration | Key Questions to Ask | Recommended Option For... |
|---|---|---|
| Volume & Throughput | How many samples are you running? What is your typical reaction volume? | Individual Tubes: Low-throughput, method development. Strip Tubes: Medium-throughput, batch processing. Plates: High-throughput, automated workflows. |
| Thermal Cycler Fit | Is my cycler compatible with skirted, non-skirted, or semi-skirted plates? Does it require a specific profile (low vs. standard)? | Check your thermal cycler manual. Mismatched formats lead to poor heat transfer and failed reactions. |
| qPCR Optical Needs | Am I performing qPCR? How sensitive does my assay need to be? | Clear Tubes: Standard qPCR, visual confirmation needed. White Tubes: High-sensitivity qPCR, low-copy number detection. |
| Sealing Method | Will individual caps, strip caps, adhesive films, or heat seals work best for my workflow and equipment? | Caps: Easy for individual tubes. Films/Seals: Better for plates to prevent evaporation and cross-contamination. |
| Material Purity | Are the tubes certified nuclease-free (DNase/RNase)? Are they free of PCR inhibitors? | Certified Nuclease-Free: Essential for all molecular biology applications to protect sample integrity. |
| Centrifugation Force | What is the maximum RCF my tubes need to withstand during the pre-PCR spin? | Check the manufacturer’s specs. Ensure it exceeds the RCF of your lab's centrifuge protocol (typically >5,000 x g). |
By systematically going through these questions, you can confidently select the PCR consumables that will give you the best chance for success, ensuring your equipment and plastics are working together, not against each other.
Even after you've got a handle on the different types and materials, a few practical questions always pop up when you're in the thick of it at the bench. Getting these sorted is the key to sharpening your lab technique, spotting trouble before it starts, and making sure every experiment is built on solid ground. Here, we'll tackle the most common questions researchers have about these essential little tubes.
This is easily one of the most common questions, especially for labs trying to keep an eye on budgets and cut down on waste. The short, sharp answer is no, you should never reuse PCR reaction tubes. It might feel like a smart way to save money, but the risks are just not worth it. The biggest danger is something called amplicon carryover—transferring amplified DNA from an old experiment into your new one.
PCR is incredibly sensitive; it's designed to amplify even a single strand of DNA. That means microscopic, invisible traces of DNA from a previous run can easily sneak into your new reaction, leading straight to false-positive results. You’ll end up wasting far more on reagents, time, and bad data than you would have spent on a new bag of tubes.
And no, autoclaving isn't the answer. While it’s great for sterilising and killing microbes, it doesn't actually destroy nucleic acids. Those DNA fragments will stick around, ready to interfere with your next experiment.
Reusing PCR tubes is a massive gamble with your data's integrity. The risk of amplicon carryover is so high it can invalidate an entire study, making single-use a non-negotiable rule for reliable, trustworthy results.
At first glance, standard PCR tubes and qPCR tubes look almost identical. They're usually made from the same high-quality virgin polypropylene and come in the same formats—individual tubes, strips, or plates. The real difference, though, is in their optical performance, which is absolutely vital for quantitative PCR (qPCR).
With standard PCR, you're just looking at the result at the very end. But qPCR is different; it tracks the reaction in real-time by measuring a fluorescent signal that grows with each cycle. This demands tubes with flawless optical clarity.
Here’s how they differ:
Think of it this way: a standard PCR tube is a simple container. A qPCR tube is a precision optical component, more like a cuvette you’d use in a spectrophotometer.
Proper storage is a simple but crucial step for preventing contamination before an experiment even begins. The way you store your PCR reaction tubes has a direct impact on your workflow and the reliability of your results. The main goal is to shield them from dust, aerosols, and especially those pesky nucleases.
Always keep your tubes in a clean, dry, dust-free spot, far from the high-traffic areas of the lab. A dedicated drawer or cabinet is perfect. Don't just leave them out on an open bench where they're exposed to airborne particles or potential splashes.
The most important rule? Keep the original bag sealed until you're ready to use them. Manufacturers go to great lengths to make and package these tubes in a sterile, nuclease-free environment. The moment you open a bag, you expose everything inside to the lab air. To keep contamination risk low, only open a new package right when you need it, and always handle the tubes with clean, gloved hands. It's a simple discipline that ensures your tubes stay pristine all the way to the cycler.
For state-of-the-art cryogenic solutions that uphold the same rigorous standards of sample integrity, explore the comprehensive portfolio from Cryonos GmbH. Discover reliable equipment for secure storage and transport at https://www.cryonos.shop.