No Products in the Cart
In labs where every detail counts and precision is non-negotiable, your standard cleaning methods just don’t cut it. This is where ultrasonic cleaning baths come into their own, acting like millions of microscopic pressure washers to get into every nook and cranny of complex instruments and cryogenic gear. For places like biobanks, cell therapy labs, and pharmaceutical research centres, this technology is absolutely vital.
In the world of advanced science, the tiniest speck of contamination can ruin an entire experiment, throw out weeks of data, or even put patient safety at risk. Try as you might, traditional manual scrubbing or even automated washers can’t reliably get to the intricate surfaces, joints, and internal channels of modern lab and cryogenic equipment. This cleaning gap is exactly where ultrasonic technology steps in and delivers a far better solution.
An ultrasonic cleaning bath gives you a level of decontamination that is simply out of reach for other methods. It makes sure that items like reusable labware, surgical tools, and even the delicate parts used in cryogenic storage are stripped completely clean of all residues. We’re talking about the really stubborn stuff, like:
The integrity of your scientific work, whether it's cell culture or drug development, hinges on having a sterile, contaminant-free environment. A bit of residue on PCR tubes, for example, can completely skew the results – a topic we dive into in our guide on PCR reaction tubes. If you don't nail this basic step, you're introducing variables that can have massive consequences down the line.
By harnessing the power of cavitation, ultrasonic cleaning baths deliver a consistent and repeatable level of cleanliness, every single time. This reliability is the bedrock for labs that need to follow strict regulatory standards and quality control protocols, protecting both the research process and its final outcomes.
Ultimately, bringing an ultrasonic cleaning bath into your lab’s workflow isn’t just about being tidy; it’s about upholding the highest standards of scientific rigour. It protects your valuable samples, guarantees the accuracy of your results, and helps your expensive equipment last longer. Think of it as a foundational step for producing the kind of reliable, reproducible data that all credible research is built on.
Forget harsh chemicals or intense scrubbing for a moment. At its core, an ultrasonic cleaning bath relies on a fascinating and powerful physical process to do the heavy lifting. The real magic happens through a phenomenon called cavitation.
Imagine being able to create and collapse millions of microscopic, super-powered bubbles in a liquid, all at the same time. That’s the secret behind this technology’s ability to achieve a truly deep clean.
It all starts with devices called transducers, which are usually fixed to the bottom of the cleaner's stainless steel tank. When you flip the switch, a generator shoots high-frequency sound waves—way beyond what our ears can detect—through the cleaning solution. These sound waves create a rapid-fire sequence of high and low pressure in the liquid. During the low-pressure phase, countless tiny vacuum bubbles form and expand.
Then, in the blink of an eye, the high-pressure phase hits. This makes the bubbles unstable, causing them to collapse violently, or implode. Each implosion shoots out a tiny but powerful jet of cleaning solution at incredible speed, blasting away contaminants from the surface of anything submerged in the tank.
Think of it like a microscopic pressure washer. A single bubble collapsing is minuscule, but the combined force of millions imploding every second creates a scrubbing action that’s both incredibly effective and surprisingly gentle. It can penetrate the tiniest crevices, threads, and blind holes that manual cleaning could never hope to reach.
This level of precision is exactly why ultrasonic cleaning is a cornerstone in demanding laboratory settings, from biobanking and cell therapy to pharmaceutical manufacturing.

As you can see, the technology is fundamental to critical life science workflows, whether it's preserving genetic material or ensuring absolute purity in drug development.
Getting the perfect clean isn't just a matter of turning the machine on and walking away. It’s about fine-tuning a few key variables that directly influence the cavitation process. Mastering these allows you to dial in the cleaning action for the specific items you're working with, from rugged industrial parts to delicate cryogenic vials.
Here’s what really matters:
To give you a better idea of how to pick the right frequency, here's a quick guide.
Choosing the correct frequency is arguably the most critical step in setting up your ultrasonic cleaning process. The wrong choice can lead to either ineffective cleaning or, worse, damage to valuable equipment. This table breaks down the common frequency ranges and what they're best suited for in a lab or cryogenic workflow.
| Frequency Range (kHz) | Cavitation Bubble Size | Cleaning Intensity | Best For |
|---|---|---|---|
| 25 – 40 kHz | Larger | High | Gross cleaning of durable items. Removing heavy contaminants from glassware, metal tools, and robust parts. |
| 40 – 70 kHz | Medium | Moderate | General-purpose lab cleaning. Good for mixed loads, complex parts with crevices, and sensitive metals. |
| 70 – 100 kHz | Smaller | Gentle | Precision cleaning of delicate instruments, optics, electronics, and silicon wafers. |
| > 100 kHz | Microscopic | Very Gentle | Ultra-fine cleaning for highly sensitive components like microelectronics and medical implants. |
Ultimately, the goal is to use the lowest frequency that will get the job done without causing damage. For most labs dealing with a variety of instruments, a unit with adjustable frequency or one that operates in the 40-70 kHz range offers the best versatility.
The effectiveness of this technology has cemented its place in the market. In Germany, the ultrasonic cleaning sector is a powerhouse in Europe, part of a global industry valued at USD 1,643.4 million. A great example is Elma Schmidbauer GmbH, a German company based in Singen that is one of the world's leading ultrasonic cleaning firms. Their Elmasonic Xtra series, with its 37 kHz technology and dual-mode operation, is a perfect illustration of the powerful cavitation needed for precision work. You can dive deeper into these industry trends by reading the full market analysis on Grand View Research.
While the science behind cavitation is fascinating, the real proof is in how ultrasonic cleaning baths perform day-in and day-out in demanding lab environments. These aren't just another piece of equipment; they're essential tools that protect the integrity of critical research and clinical work. Their power to deliver a microscopic level of clean makes them non-negotiable in any workflow where the tiniest contaminant could spell disaster.
From university research labs to high-throughput biobanks, their uses are as varied as they are vital. Ultrasonic cleaners give us a reliable, repeatable way to handle tasks that would otherwise be frustratingly time-consuming, inconsistent, or flat-out impossible with elbow grease alone.
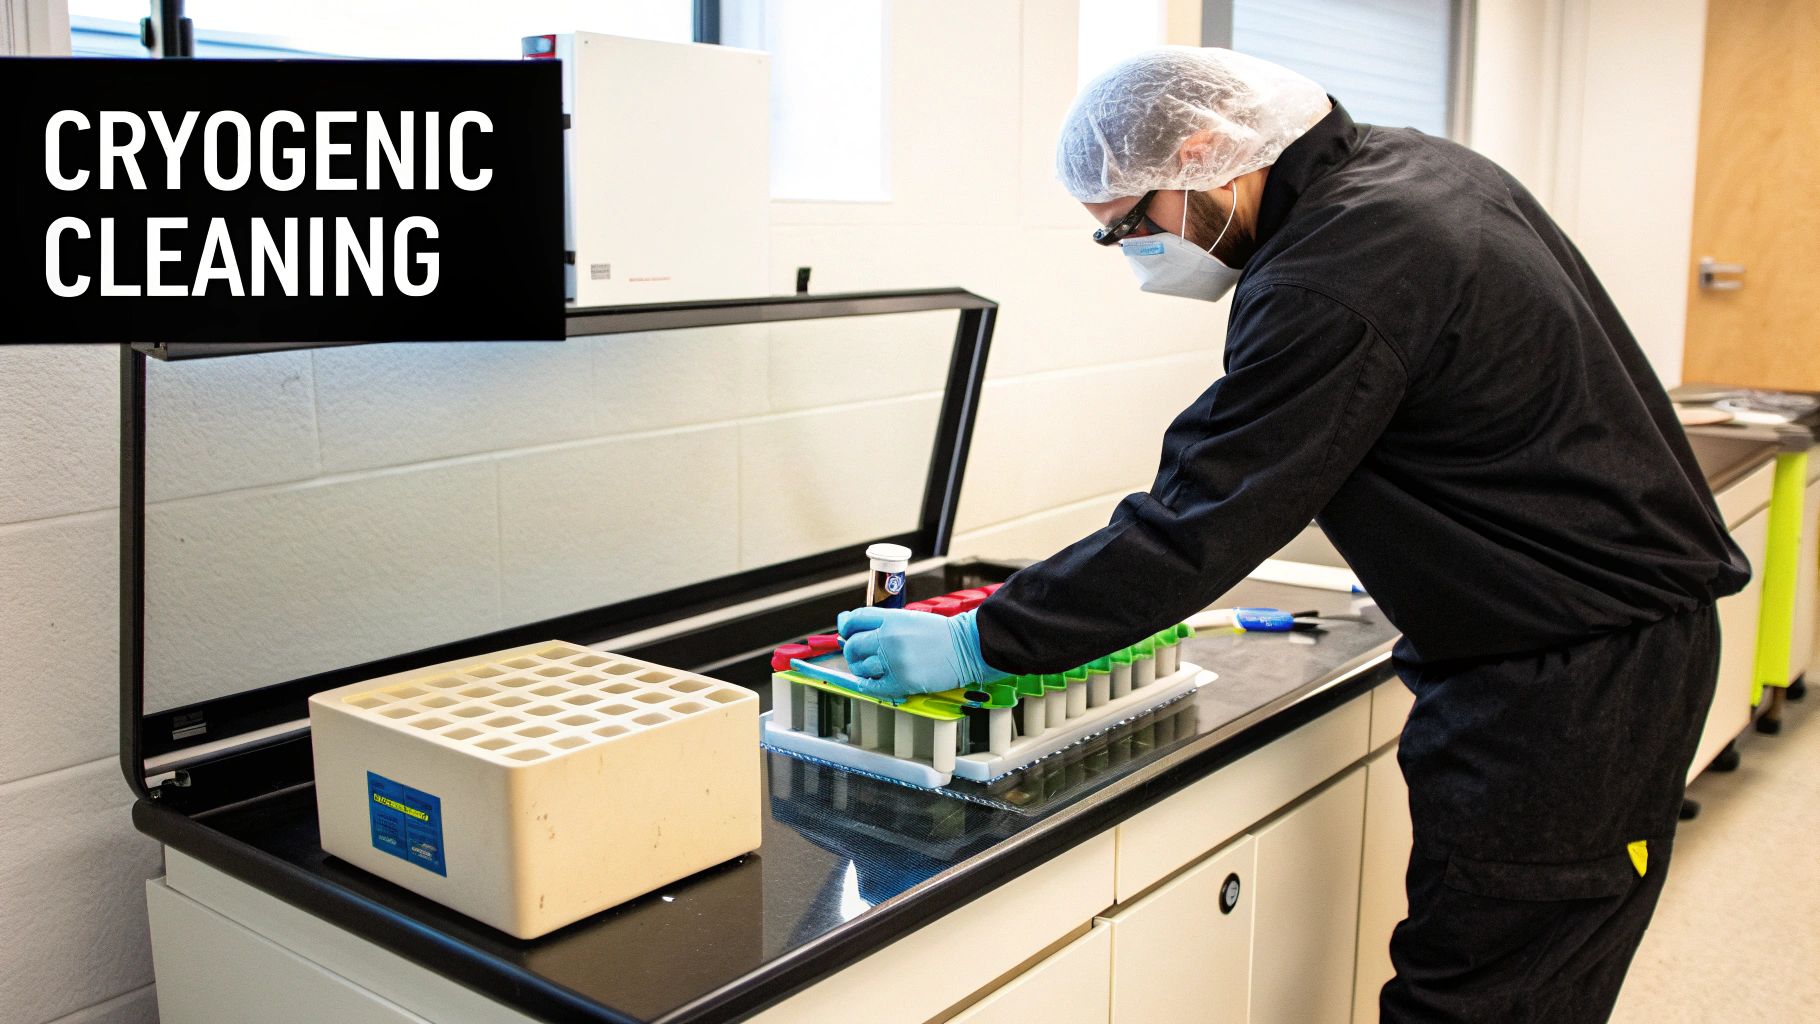
In the world of cryogenic storage, stopping cross-contamination between biological samples is everything. Cryo-storage vessels, racks, and handling tools have to be flawlessly cleaned to get rid of any stray biological material or cryoprotectant agents. Trying to scrub these items by hand often misses the complex shapes and tight seams, leaving behind microscopic residues that could easily ruin future samples.
This is where ultrasonic cleaning baths truly shine. Those cavitation bubbles get into every hidden nook and cranny, ensuring that vessels used for sensitive materials are completely free of contaminants. This is how we safeguard the viability and purity of irreplaceable cell lines, tissues, and genetic material. It’s also a crucial prep step for items heading into an ultra-low temperature freezer, where absolute cleanliness is the foundation for successful long-term preservation.
Here are a few of the most common jobs they tackle:
The benefits stretch well beyond cryogenics. Take fertility clinics, for example. Surgical instruments and labware must be impeccably sterile to protect patient safety and ensure successful outcomes. Ultrasonic cleaners are put to work removing every trace of biological debris from intricate instruments before they go in for final sterilisation—a critical step demanded by infection control standards.
It's a similar story in biotech and pharmaceutical manufacturing. Precision-engineered components have to be cleared of manufacturing oils, polishing compounds, and tiny metal fines. An ultrasonic cleaning bath delivers the deep clean needed to prepare these parts for assembly into sensitive devices or for use in sterile production lines. The action is powerful yet gentle, so even delicate components aren't damaged in the process.
By reaching into crevices and blind holes that brushes or sprays could never touch, ultrasonic cleaning provides a level of assurance that manual methods simply cannot match. This makes it a foundational process for quality control in any high-stakes laboratory.
This technology is also the go-to solution for keeping lab glassware pristine. It effortlessly removes stubborn chemical residues and baked-on substances, guaranteeing that beakers, flasks, and pipettes won’t introduce unwanted variables into the next experiment.
Picking out the right ultrasonic cleaning bath is a big deal. It’s a decision that echoes through your lab's efficiency, the lifespan of your instruments, and ultimately, the quality of your results. With so many models out there, it’s easy to get lost, but the key is to look past the price and zero in on the features that actually match your lab's day-to-day needs, especially for demanding cryogenic workflows.
Think of it like choosing a specialised tool for a precision job. The wrong one can leave you with poorly cleaned parts or, even worse, damage delicate equipment. The right one, however, quickly becomes an indispensable part of maintaining the highest standards. A good unit doesn't work in isolation; it complements other essential lab gear, like the orbital shakers used for sample agitation.
Your starting point should always be the most basic, yet critical, aspects: size and construction. The tank needs to be big enough to completely submerge your largest items—think cryogenic vessel racks or intricate glassware—without being crammed in. Pro tip: always check the internal basket dimensions, not just the advertised tank size. That's your true usable space.
The material of the tank is just as vital. Stainless steel is the industry standard for a reason; its durability and resistance to chemical corrosion mean it can stand up to heavy daily use and last for years.
Next up, let's talk power and frequency controls, because this is where versatility comes into play.
A feature that’s often a game-changer is heating capability. Running a heated solution, typically between 50-65°C, can dramatically speed up cleaning. The heat lowers the fluid's viscosity, making cavitation more efficient, which is especially useful for cutting through stubborn oils and waxes. Just be careful with biological materials—too much heat can cause proteins to cook onto surfaces, making them harder to remove.
Finally, you’ll face the choice between digital and analogue controls. Analogue models, with their straightforward knobs, are often tough, reliable, and easy to use. No fuss, no frills.
However, digital controls offer a level of precision that analogue simply can’t match. Setting exact times and temperatures is vital for creating repeatable, validated cleaning protocols—something that’s non-negotiable in many clinical and research environments.
The move towards digital is undeniable, particularly in highly regulated markets. Take Germany's ultrasonic cleaning landscape, for example. Environmental regulations have pushed the industry towards chemical-free, water-based baths, and with that came a demand for precision. Benchtop units with digital timers and presets now hold a dominant 46.6% market share, perfectly suited for the strict protocols found in hospitals. You can discover more insights about the ultrasonic cleaning market on Mordor Intelligence. This need for accuracy is why digital ultrasonic baths are set for major growth, especially in Germany’s demanding electronics and pharmaceutical sectors.
Getting consistent, high-quality results from your ultrasonic cleaning bath is about more than just the machine itself; it all comes down to a disciplined workflow. Following a few key best practices won’t just maximise your cleaning power, it will also keep your team safe and protect your valuable equipment from damage. Think of these guidelines as the essential operating manual for getting the most out of your investment.
Proper setup is where it all begins. Always start by preparing your cleaning solution exactly as the manufacturer recommends. This typically means diluting a concentrated formula with deionised or distilled water to sidestep the mineral deposits that regular tap water can leave behind.
Once your solution is mixed, it needs to be degassed. Freshly prepared solutions are full of dissolved gases that get in the way of the cavitation process, seriously reducing cleaning power. While most modern units have a dedicated degas function, simply running a cycle for 5-10 minutes before you add any parts does the trick and ensures you get maximum ultrasonic performance.
How you load your items is just as important. A common mistake is placing items directly on the bottom of the tank. The intense vibrations down there can cause parts to scratch the stainless steel surface, which can eventually lead to permanent tank damage.
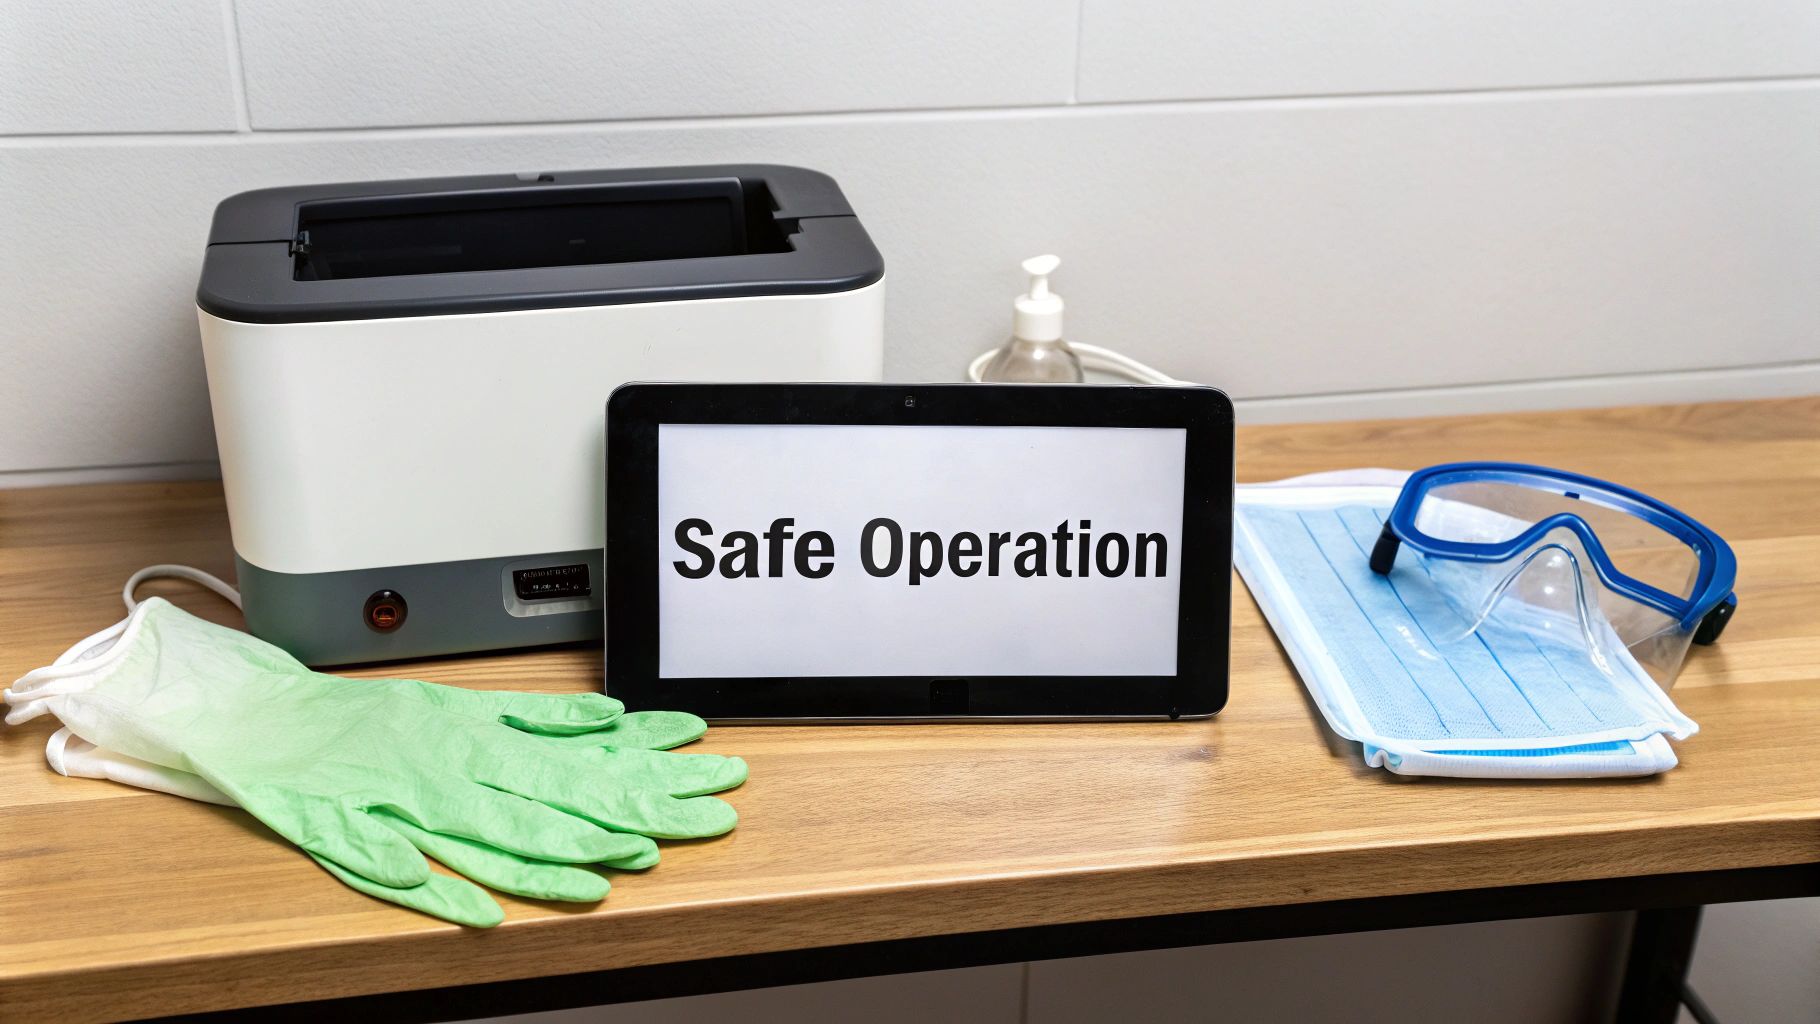
Safety has to be the top priority when you're operating any piece of lab equipment. Ultrasonic cleaners generate heat and can turn cleaning solutions into an aerosol, so taking proper precautions is non-negotiable. Always run the unit in a well-ventilated area to help disperse any fumes.
Personal Protective Equipment (PPE) is an absolute must. Always wear safety goggles to shield your eyes from splashes and chemical-resistant gloves to protect your skin, particularly when you’re handling hot items fresh out of the bath.
On top of that, you have to be certain that your cleaning solution is chemically compatible with the items you're cleaning. Never use harsh acids or flammable solvents like acetone in a standard unit unless it is specifically designed and certified for them. Doing so creates a serious fire or explosion risk. By making these practices a routine part of your workflow, you’ll create a safe, efficient, and incredibly effective cleaning process in your lab.
Think of your ultrasonic cleaning bath as a high-performance instrument in your lab. Just like any precision tool, it needs a bit of regular care to keep delivering those consistent, high-quality results you rely on. A simple, routine maintenance schedule is all it takes to protect your investment, ensure its longevity, and prevent any frustrating downtime.
If you let basic upkeep slide, you'll start to see the difference. Cleaning power can diminish, results become inconsistent, and you could even risk permanent damage to the tank. The good news is, keeping your unit in top shape is incredibly straightforward. A consistent schedule for cleaning and performance checks will have your ultrasonic cleaner operating at maximum efficiency for years.
A few proactive steps can make a world of difference. The single most important task is to regularly clean the tank itself. Over time, all the dislodged grime and residues from your cleaning cycles will settle at the bottom, and this build-up can interfere with the transducers, reducing the unit's overall power.
The foil test is a classic for a reason—it’s a simple yet powerful diagnostic tool. Just submerge a piece of regular aluminium foil in the bath for about a minute. If it comes out looking evenly pitted and perforated, your cleaner is in great shape. Uneven patterns or weak pitting can be an early warning sign of a problem.
This quick check helps you catch any performance dips early on, long before they can impact your critical cleaning workflows or compromise the integrity of your valuable lab equipment.
When you're working with ultrasonic cleaners, a few practical questions always seem to pop up. Getting these details right is key to making sure you get the best performance for your lab work, whether you're doing a general clean-up or prepping sensitive cryogenic gear. Here are some straightforward answers to the questions we hear most often.
While you can technically use tap water, we strongly recommend deionised or distilled water for any serious scientific or medical job. The reason is simple: tap water is full of minerals and other bits and pieces that leave a fine, whitish film on instruments once they dry.
This residue might not look like much, but it can easily compromise the sterility of medical devices or throw off delicate experiments in a biobank. Using purified water ensures you get a perfectly clean, residue-free finish, which is non-negotiable for maintaining the integrity of your work.
There's no single answer here, but a typical cleaning cycle usually runs anywhere from three to ten minutes for items that are only lightly soiled. For parts with more stubborn contamination—think baked-on biological matter or thick grease—you might need to run a cycle for 20 minutes or longer.
The perfect timing really depends on a few things:
A good rule of thumb is to start with a shorter cycle, pull the item out for a quick inspection, and only add more time if it’s needed. This way, you avoid accidentally damaging delicate components by exposing them to the cavitation for too long.
Putting plastics in an ultrasonic bath is a bit of a balancing act because not all polymers are created equal. Hard, durable plastics like polypropylene or HDPE generally handle the process just fine.
On the other hand, softer plastics like LDPE or certain types of polystyrene can be damaged by the combined force of the cavitation energy and heat.
Always check the manufacturer’s guidelines for both the plastic item and your specific ultrasonic cleaner. If you're ever in doubt, it’s smart to run a quick test on a small, non-critical piece first. This will confirm it can handle the process before you risk any valuable equipment.
For state-of-the-art cryogenic solutions that demand the highest standards of cleanliness, trust Cryonos GmbH. Explore our complete portfolio of storage, transport, and handling equipment at https://www.cryonos.shop.